Bridging is currently paused as testnet access is being rolled out gradually. Bridging will be enabled in the next few weeks.
Using the UniFi Bridge
In order to use the UniFi Rollup Bridge, you need to have a compatible wallet and some funds on the L1 network. This guide will help you bridge your funds from the L1 network to the UniFi Rollup network.
How to bridge (deposit) ETH to UniFi
-
Open the UniFi Rollup Bridge UI.
-
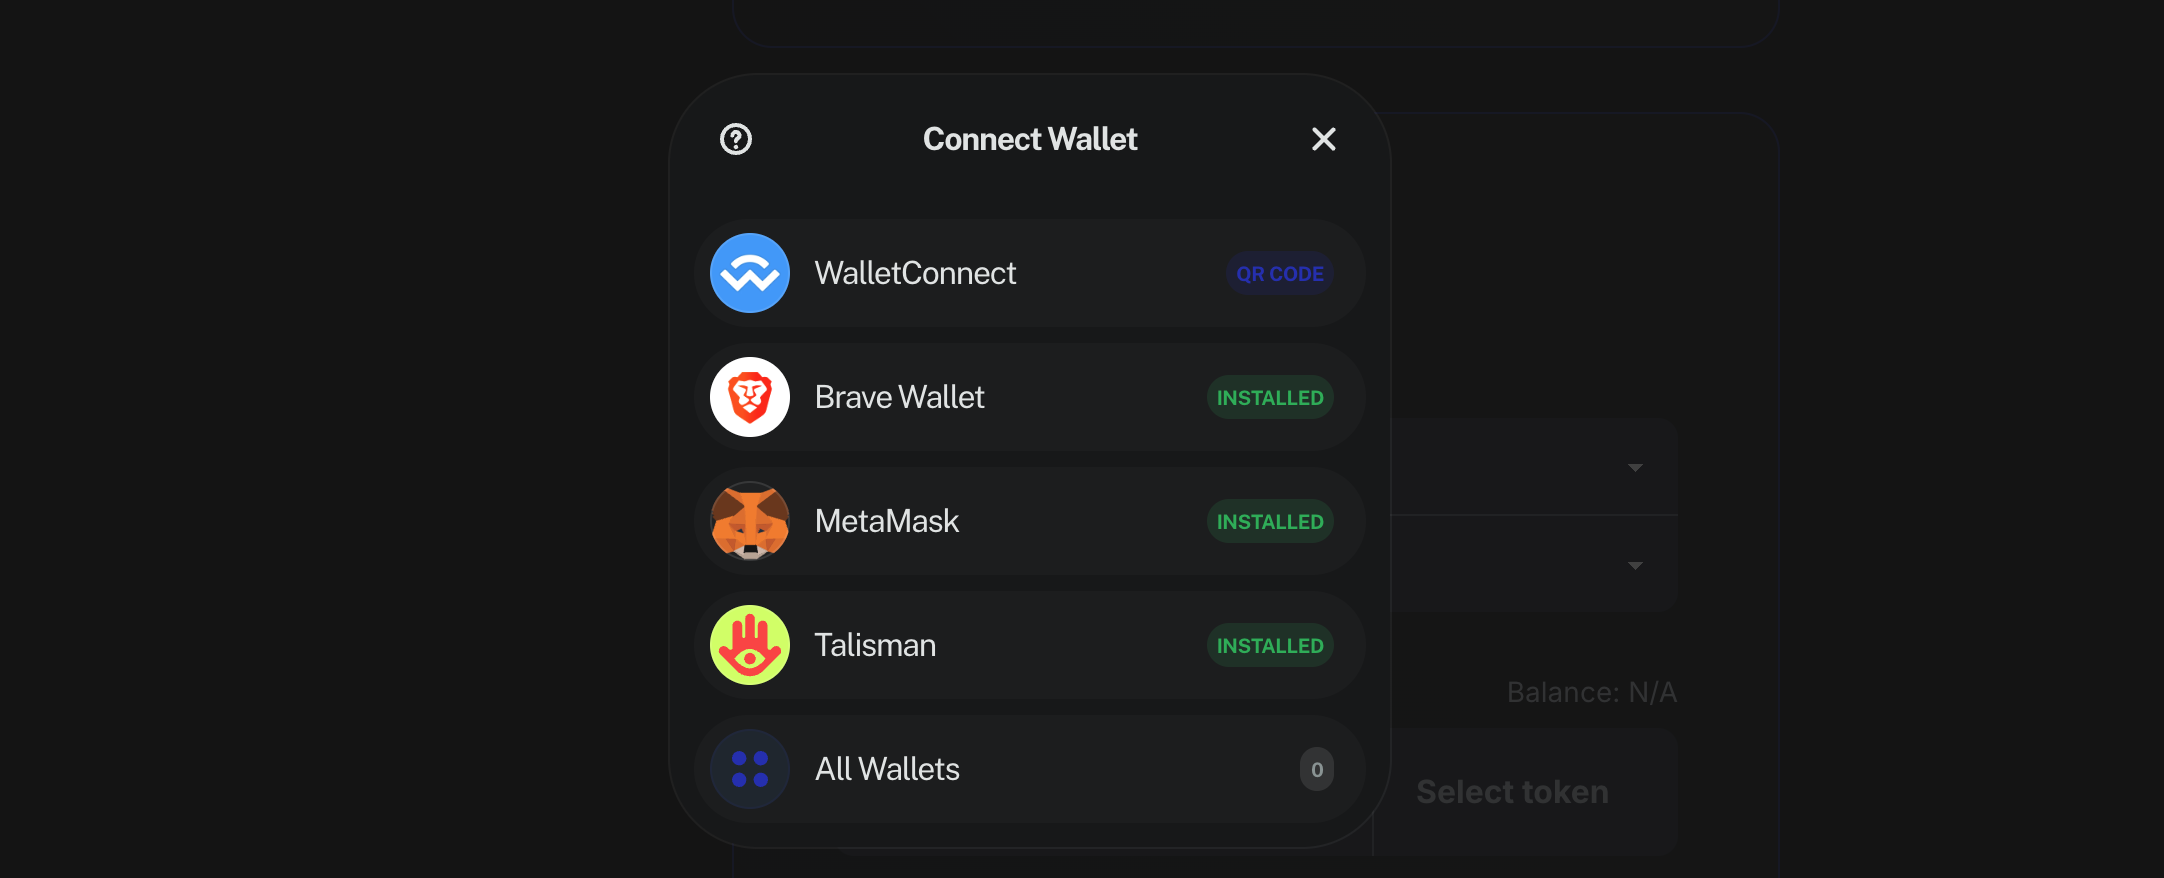
Connect your preferred wallet.
-
Switch your connected network to L1 (Holesky).
- This can be done manually from the top right corner of the page by clicking on your wallet address.
-
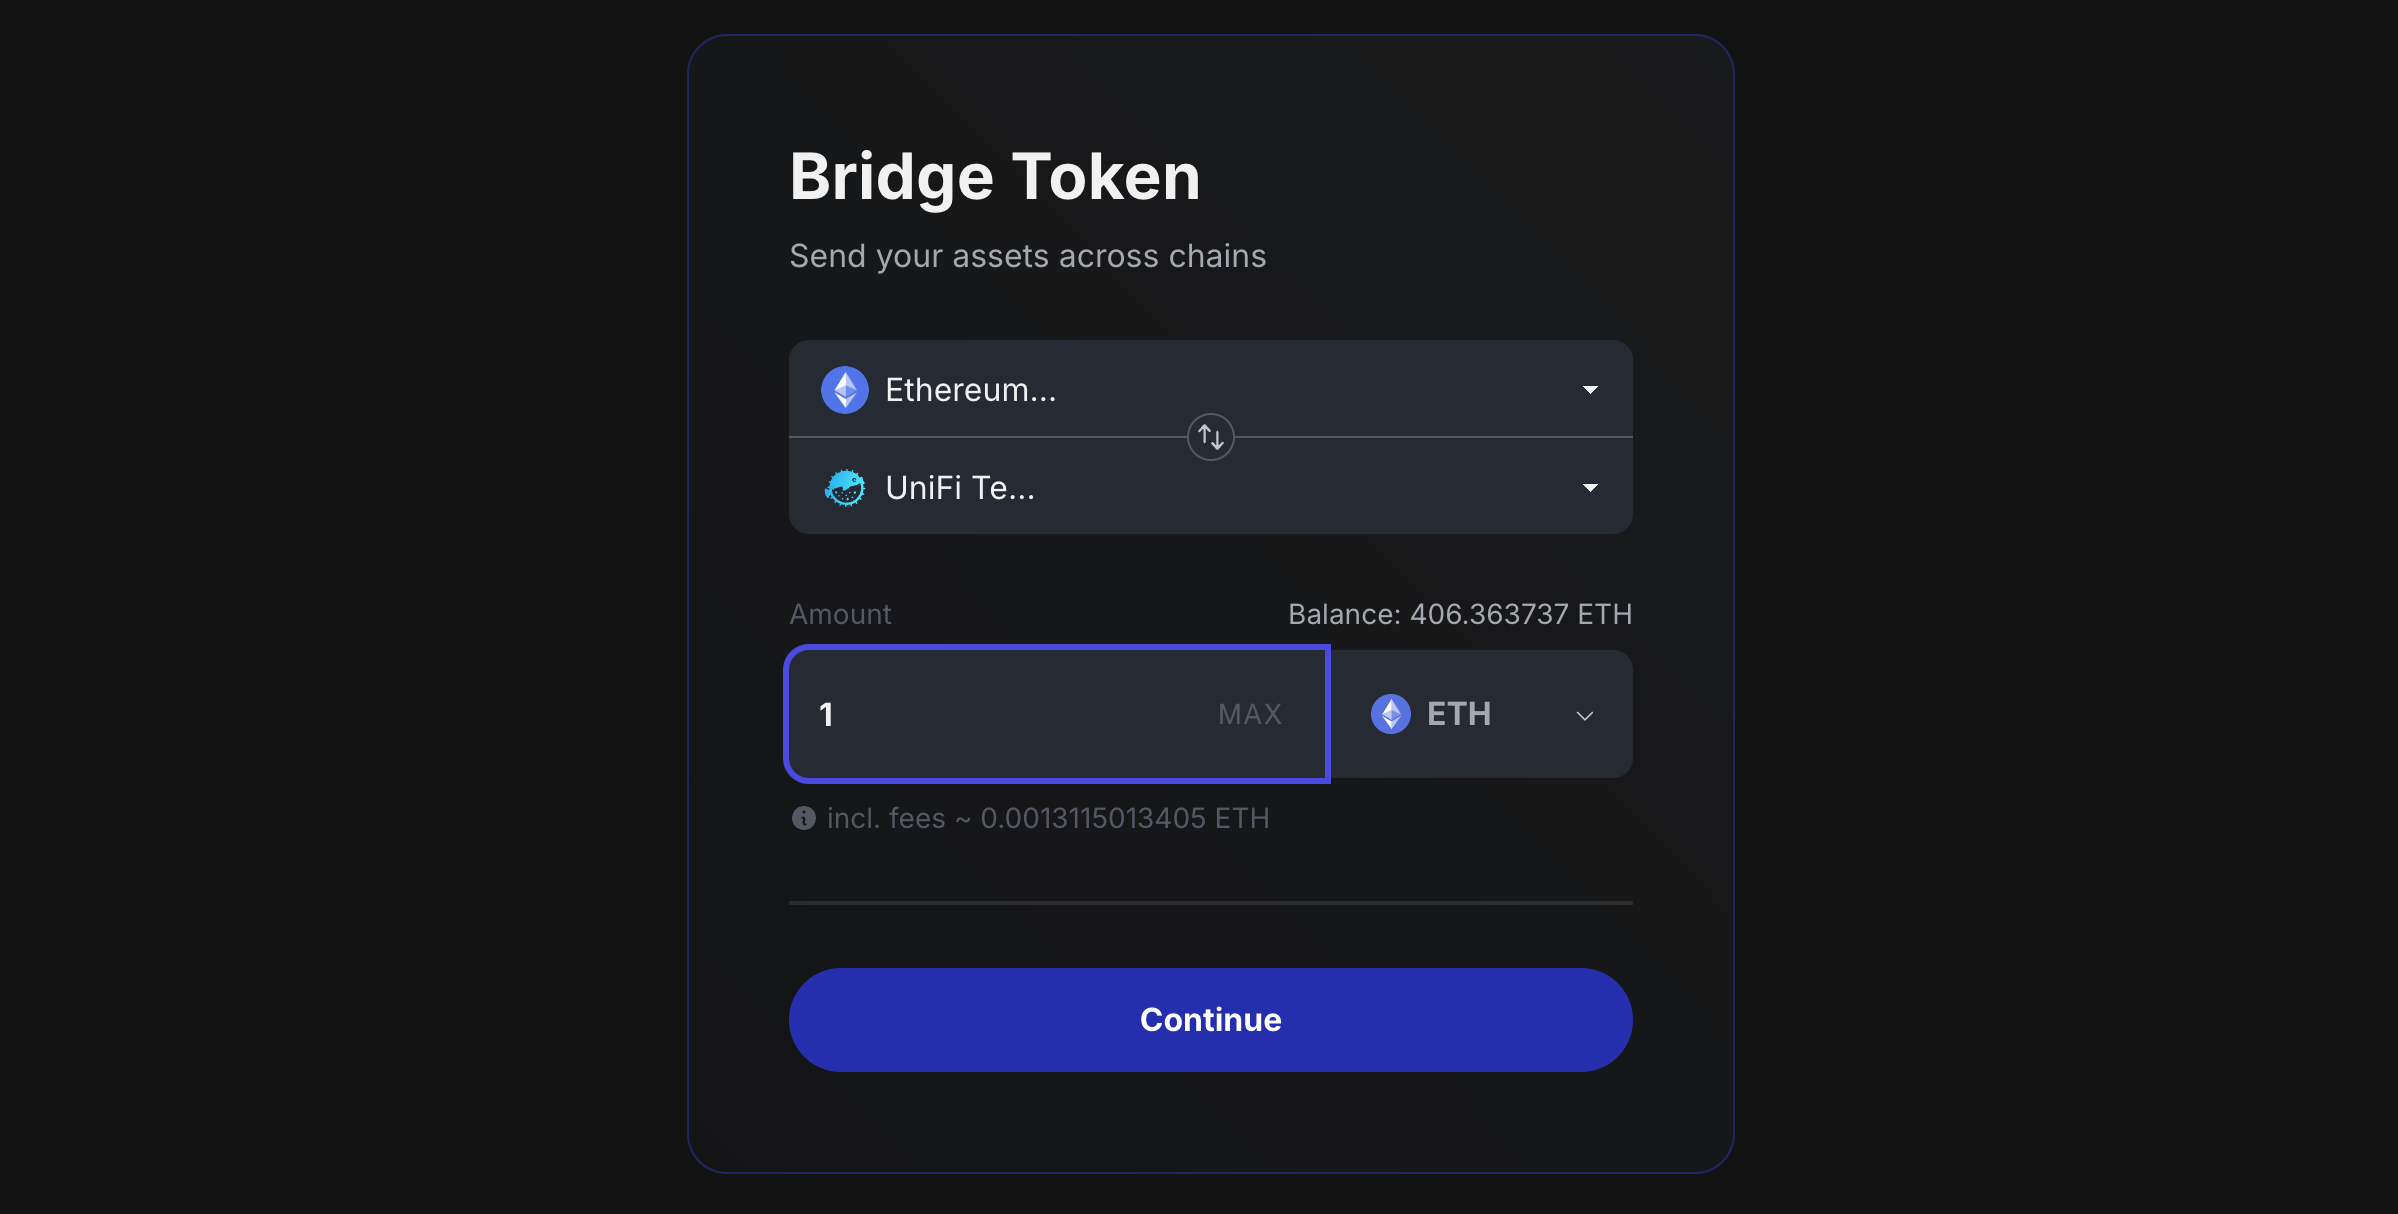
Select the token and the amount you want to bridge and press continue.
-
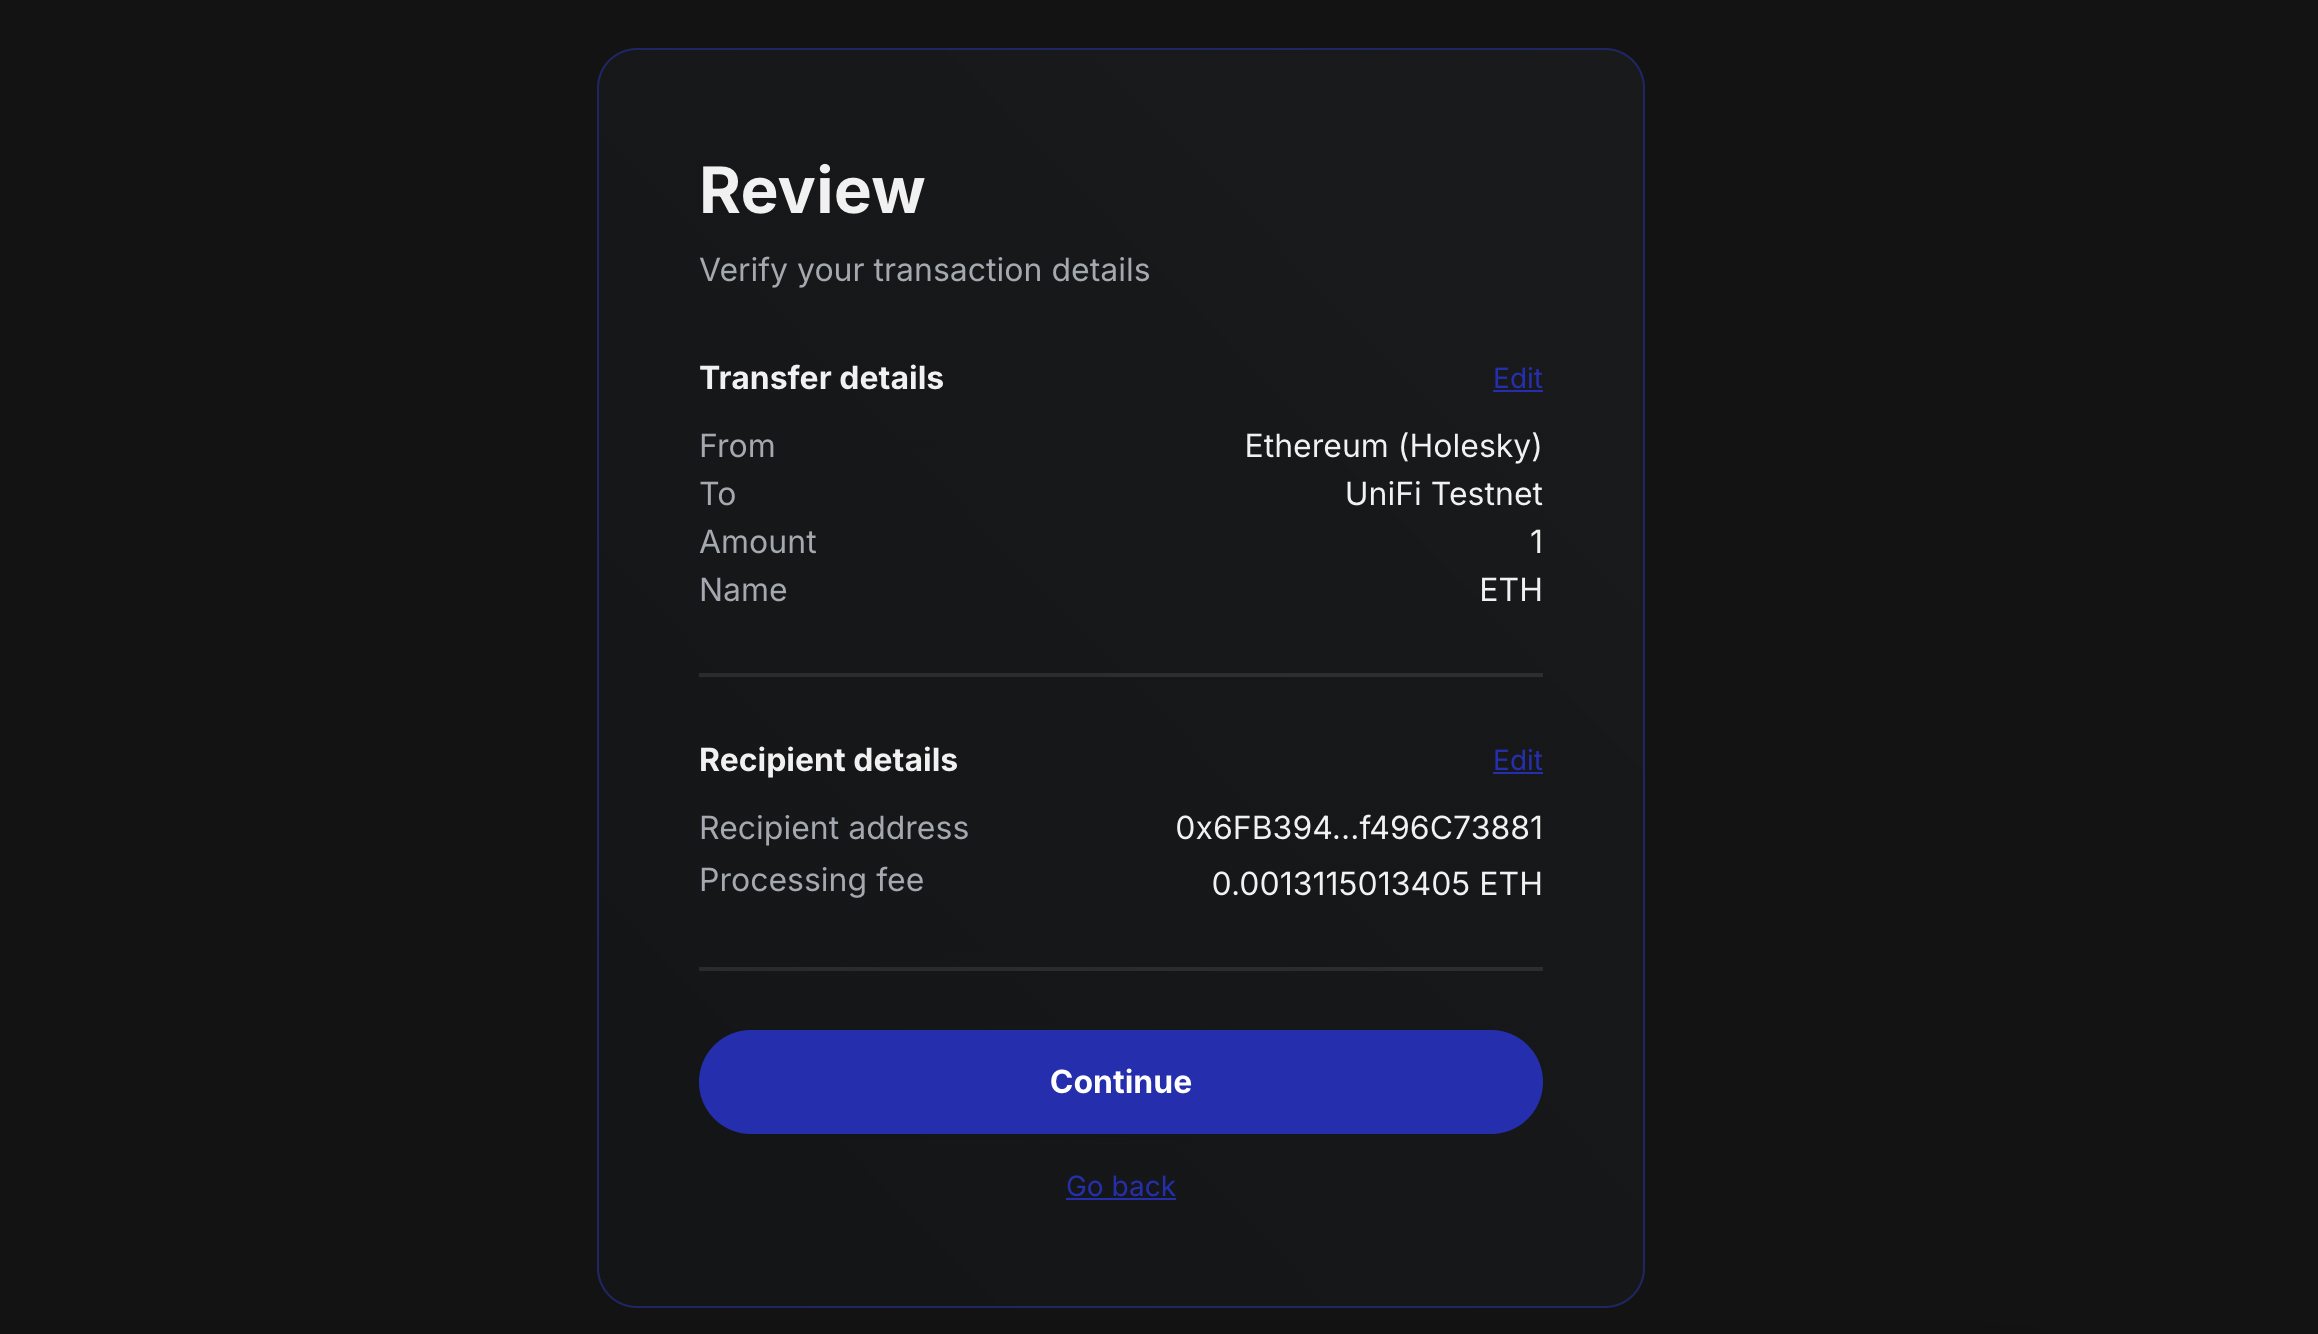
Review the transaction details and press confirm.
 info
infoWhen bridging ERC20 tokens, you will have an additional transaction to approve the bridge contract to spend your tokens.
-
Accept the transaction in your wallet.
-
Track the transaction in the Transactions tab.

-
After a few minutes, the transaction will be confirmed and the status will change to Claimed.

-
Once the transaction is confirmed, you can switch to the L2 network (UniFi) and see your bridged funds in your wallet.
Claiming Manually (Optional)
If you want to claim your bridged funds manually, you can do so by following these steps:
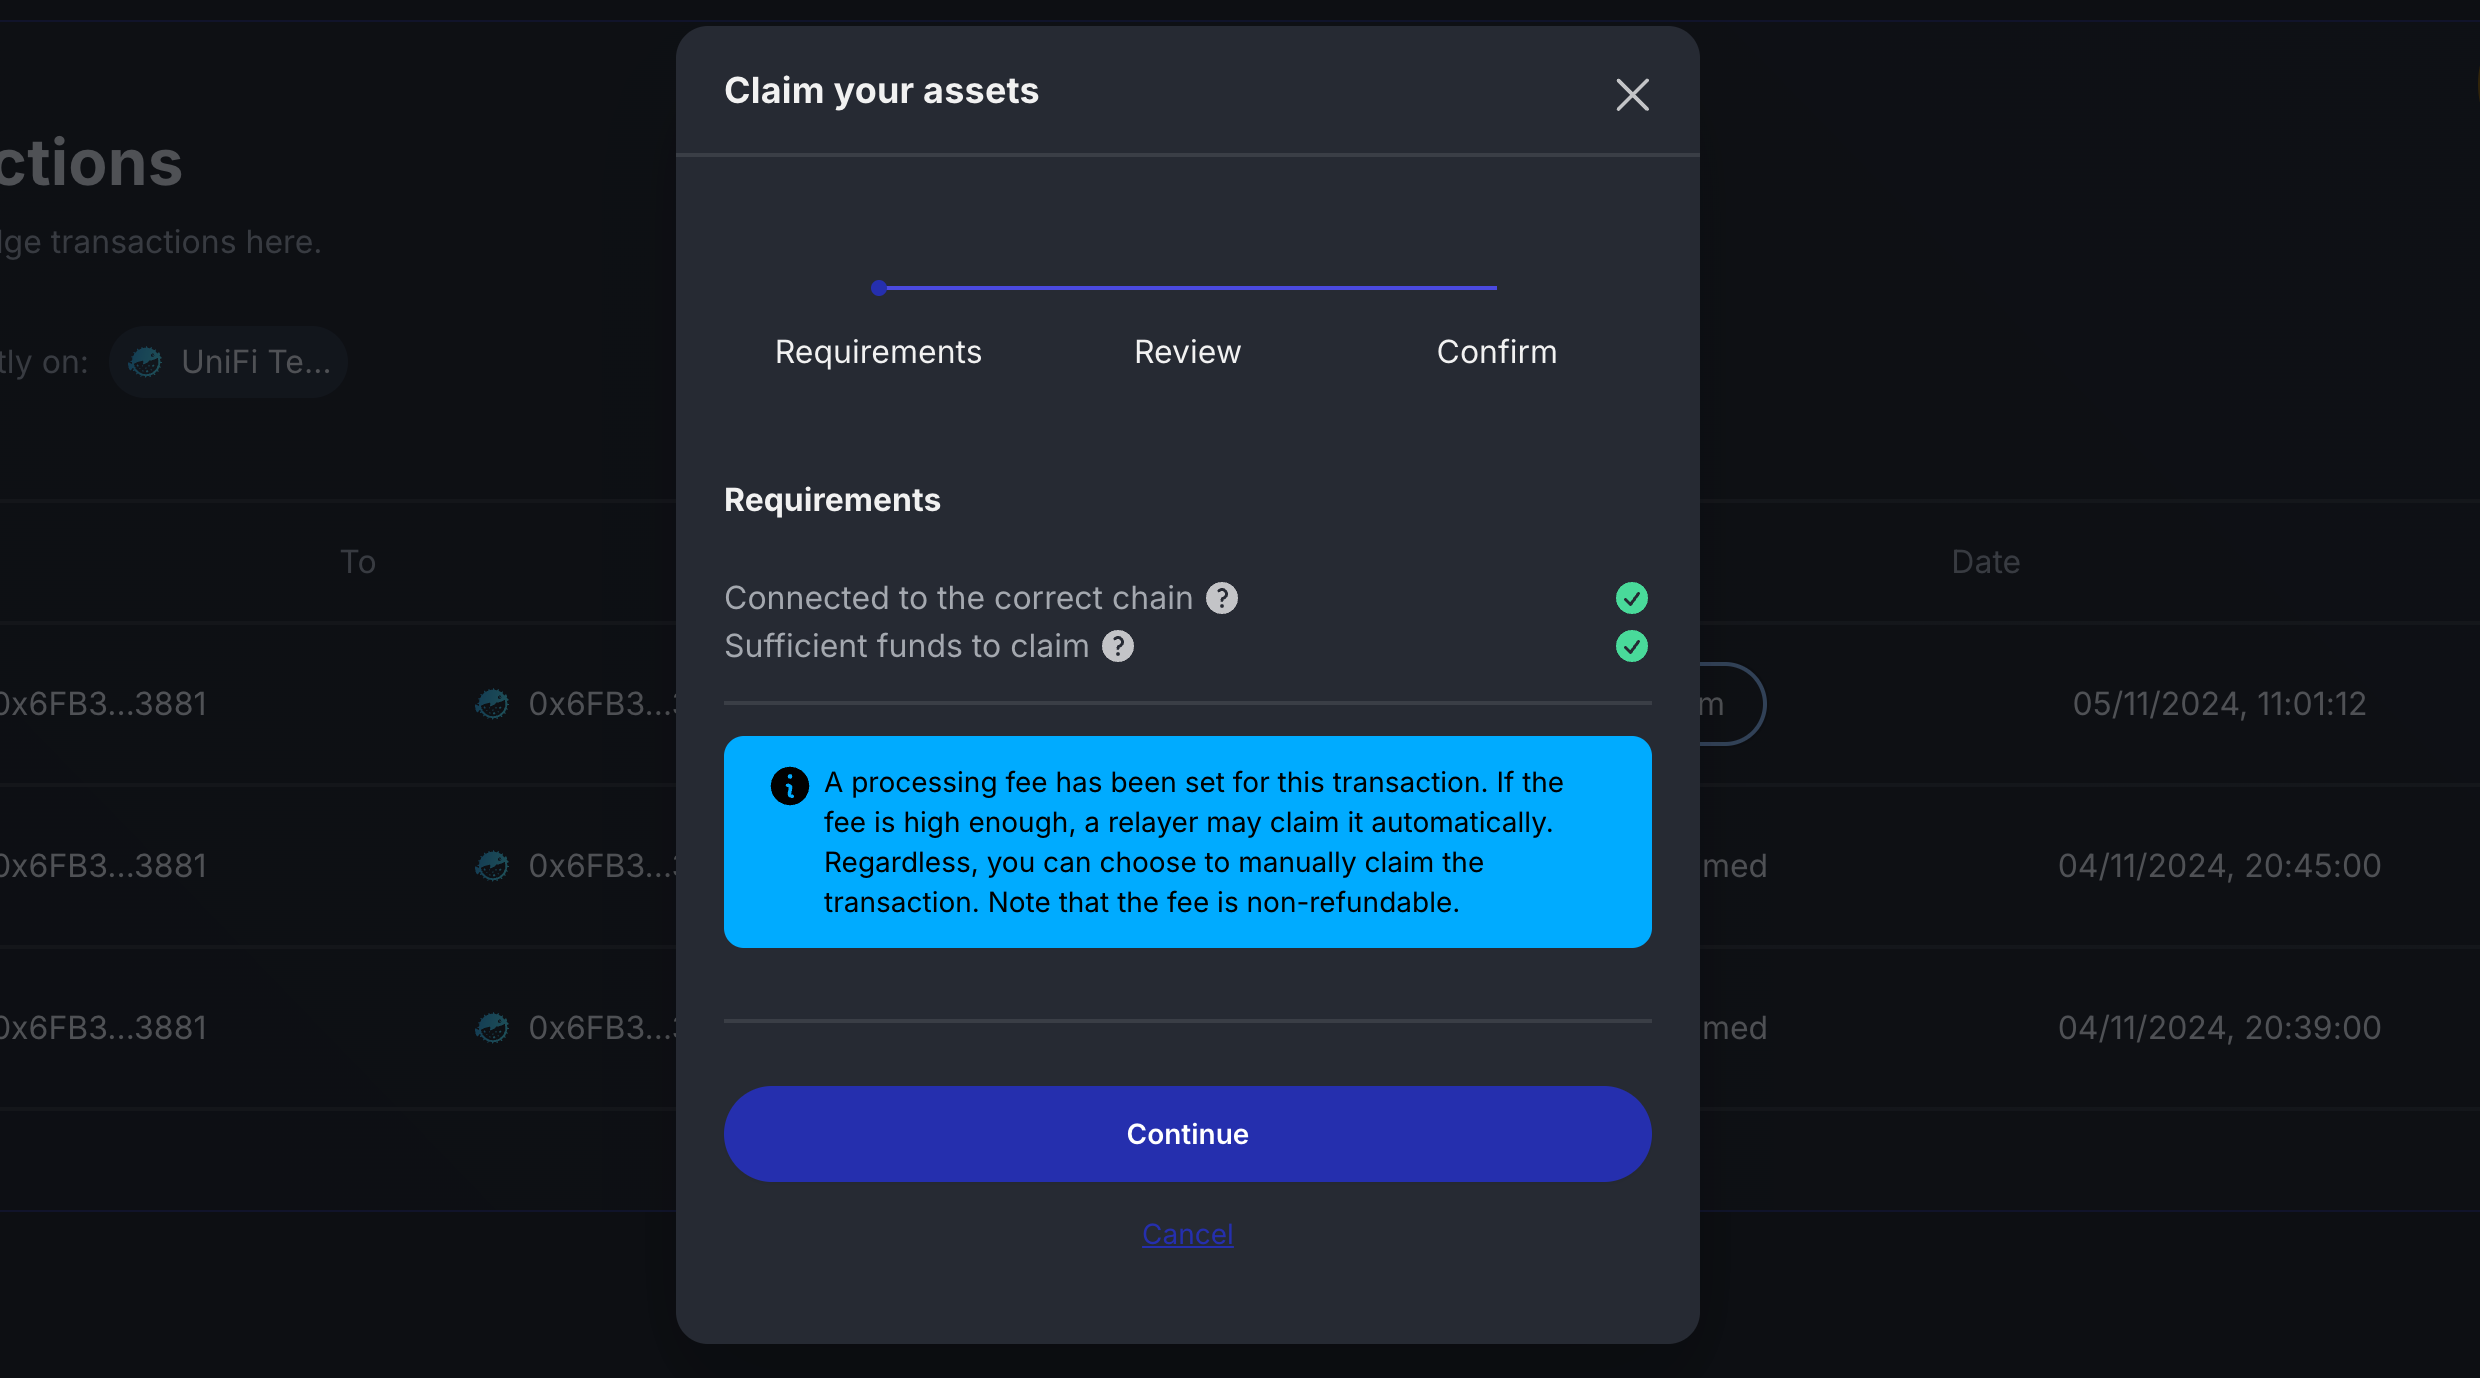
- Press the Claim button on the transaction.

- Review the transaction details and press confirm.
- After transaction confirmation, you will see your bridged funds in your wallet.
How to bridge (withdraw) ETH from UniFi
-
Make sure that you've selected UniFi Testnet as your source chain
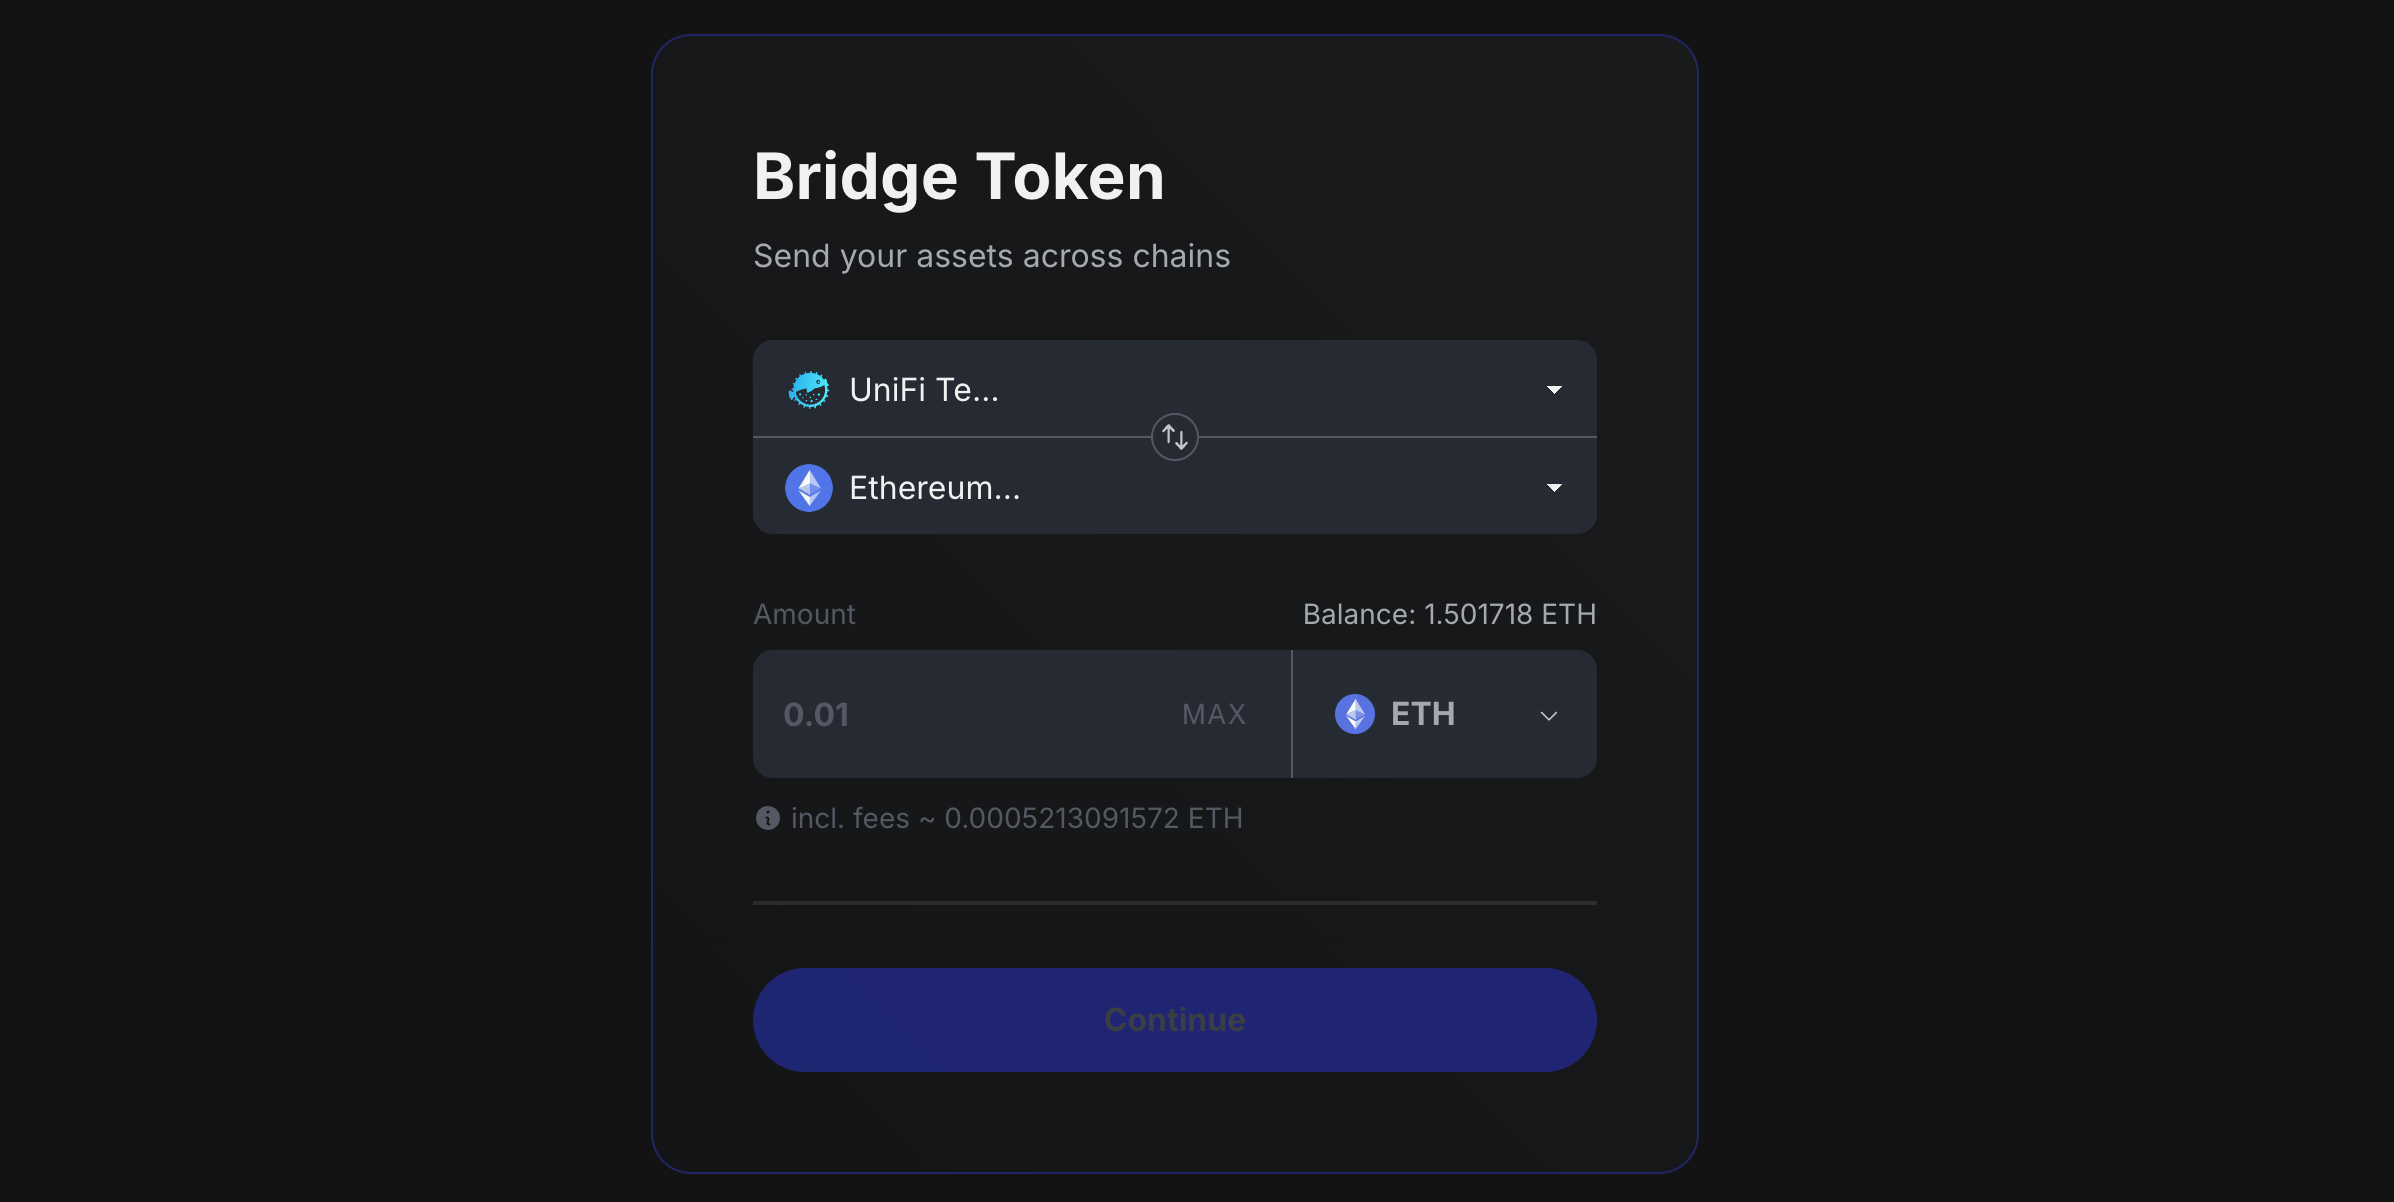
-
The next steps are the same as when depositing ETH.